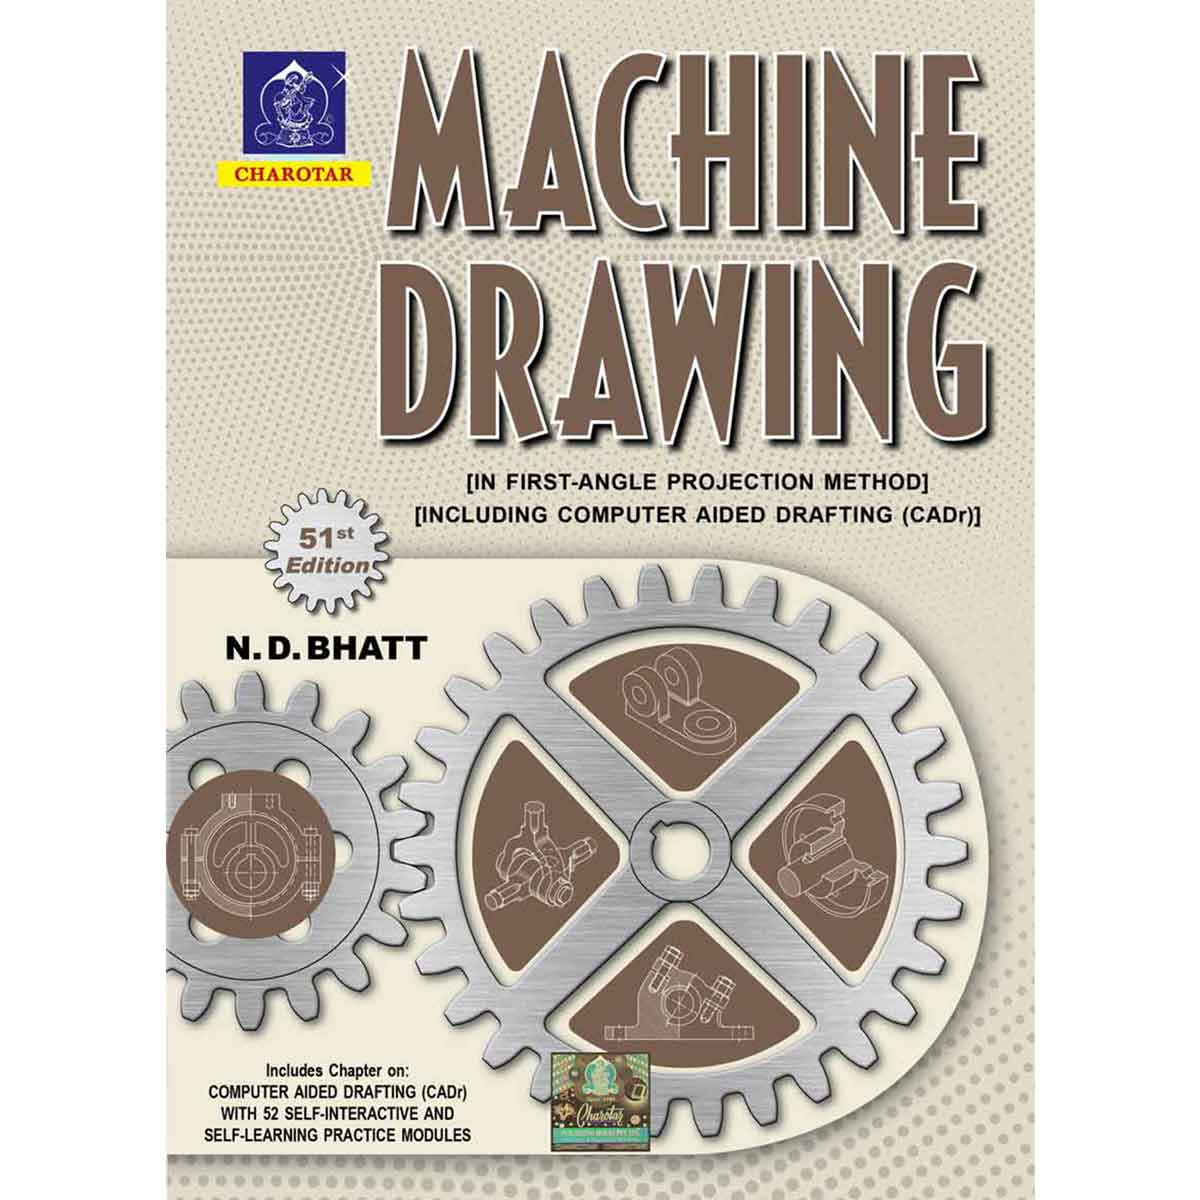
Machine Drawing By N. D. Bhatt
₹315.00
By N. D. Bhatt
51st Edition 2022
ISBN : 9789385039560
Binding : Paperback
Pages : 520 + 16 = 536
Size (mm) : 235 × 22 × 170
Weight : 650 g
Description
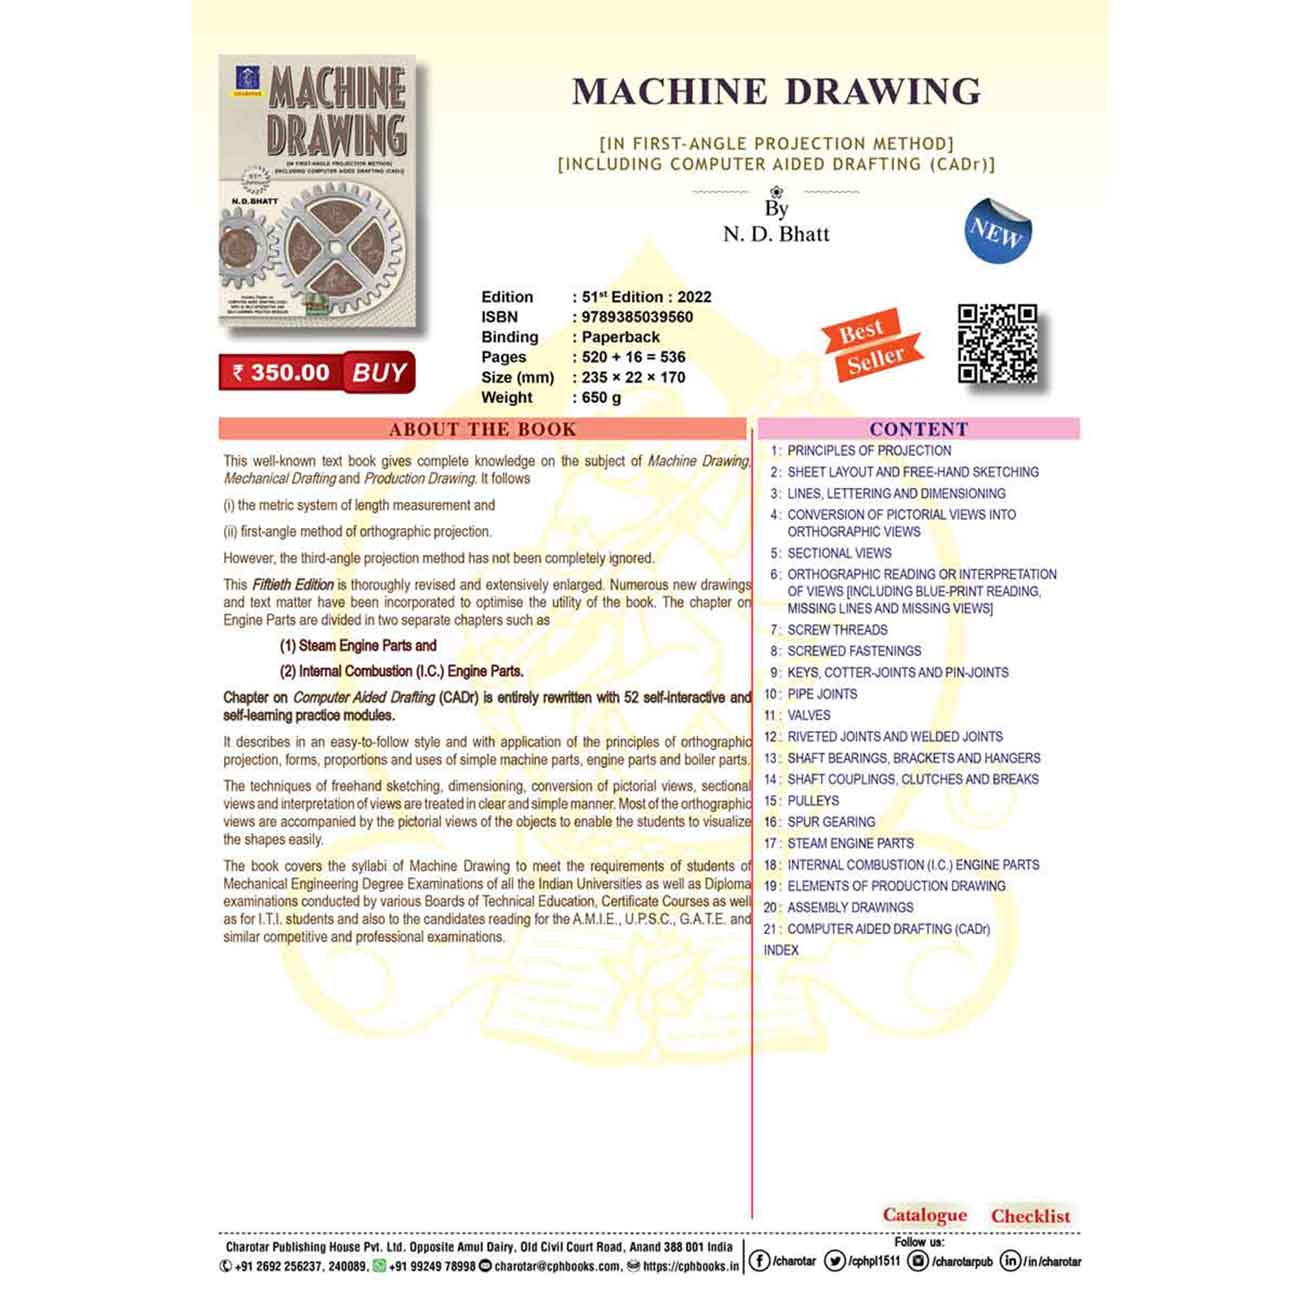
This well-known text book gives complete knowledge on the subject of Machine Drawing, Mechanical Drafting and Production Drawing. It follows
(i) the metric system of length measurement and
(ii) first-angle method of orthographic projection.
However, the third-angle projection method has not been completely ignored.
This Fiftieth Edition is thoroughly revised and extensively enlarged. Numerous new drawings and text matter have been incorporated to optimise the utility of the book. The chapter on Engine Parts are divided in two separate chapters such as
(1) Steam Engine Parts and
(2) Internal Combustion (I.C.) Engine Parts.
Chapter on Computer Aided Drafting (CADr) is entirely rewritten with 52 self-interactive and self-learning practice modules.
It describes in an easy-to-follow style and with application of the principles of orthographic projection, forms, proportions and uses of simple machine parts, engine parts and boiler parts.
The techniques of freehand sketching, dimensioning, conversion of pictorial views, sectional views and interpretation of views are treated in clear and simple manner. Most of the orthographic views are accompanied by the pictorial views of the objects to enable the students to visualize the shapes easily.
The book covers the syllabi of Machine Drawing to meet the requirements of students of Mechanical Engineering Degree Examinations of all the Indian Universities as well as Diploma examinations conducted by various Boards of Technical Education, Certificate Courses as well as for I.T.I. students and also to the candidates reading for the A.M.I.E., U.P.S.C., G.A.T.E. and similar competitive and professional examinations.
Additional information
| Author Name | |
|---|---|
| Book Edition | |
| ISBN | |
| Book Binding | |
| Pages | |
| Size | |
| Weight | |
| Old ISBN | 8185594058, 8185594198, 8185594384, 8185594481, 8185594570, 8185594775, 9788185594842, 9788185594958, 9789380358116, 9789380358468, 9789380358635, 9789380358697, 9789380358888, 9789385039232 |
Content
1 : PRINCIPLES OF PROJECTION
2 : SHEET LAYOUT AND FREE-HAND SKETCHING
3 : LINES, LETTERING AND DIMENSIONING
4 : CONVERSION OF PICTORIAL VIEWS INTO ORTHOGRAPHIC VIEWS
5 : SECTIONAL VIEWS
6 : ORTHOGRAPHIC READING OR INTERPRETATION OF VIEWS [INCLUDING BLUE-PRINT READING, MISSING LINES AND MISSING VIEWS]
7 : SCREW THREADS
8 : SCREWED FASTENINGS
9 : KEYS, COTTER-JOINTS AND PIN-JOINTS
10 : PIPE JOINTS
11 : VALVES
12 : RIVETED JOINTS AND WELDED JOINTS
13 : SHAFT BEARINGS, BRACKETS AND HANGERS
14 : SHAFT COUPLINGS, CLUTCHES AND BREAKS
15 : PULLEYS
16 : SPUR GEARING
17 : STEAM ENGINE PARTS
18 : INTERNAL COMBUSTION (I.C.) ENGINE PARTS
19 : ELEMENTS OF PRODUCTION DRAWING
20 : ASSEMBLY DRAWINGS
21 : COMPUTER AIDED DRAFTING (CADr)
INDEX
Content Details
Chapter 1 PRINCIPLES OF PROJECTION
1-1. Introduction
1-2. Principle of projection
1-3. Methods of projection
1-4. Orthographic projection
1-5. Planes of projection
1-6. Four quadrants
1-7. First-angle projection
1-8. Third-angle projection
1-9 Reference line
1-10. Symbols for methods of projection
1-11. Comparison of six views in first angle projection method and
third angle projection method
1-12. Combination of first angle projection method and third angle
projection method
1-13. B.I.S. code of practice
1-14. Isometric projection
1-15. Oblique projection
1-16. Perspective projection
Exercises 1
Chapter 2 SHEET LAYOUT AND FREE-HAND SKETCHING
2-1. Sheet layout
(1) Drawing papers and drawing sheet sizes
(2) Margin
(3) Border lines
(4) Borders and frames
(5) Orientation mark
(6) Grid reference system (zones system)
(7) Title block
(8) List of parts or the bill of materials
(9) Revisions of drawing
(10) Folding marks
(11) Scales and scale drawing
2-2. Types of machine drawings
(1) Production drawing
(2) Exploded assembly drawing
(3) Schematic assembly drawing
(4) Drawing for instruction manual
(5) Drawing for installation
(6) Drawing for catalogue
(7) Tabular drawing
(8) Patent drawing
2-3. Free-hand Sketching
(1) Sketching or freehand
(2) Sketching materials
(3) To sketch straight lines
(4) To sketch circles and arcs
(5) Sketching procedure
(6) Steps in sketching
Exercises 2
Chapter 3 LINES, LETTERING AND DIMENSIONING
3-1. Introduction
3-2. Lines
(1) Line thickness
(2) Inked drawings
(3) Pencil drawings
3-2-1. Types of Lines
(1) Outlines
(2) Margin lines
(3) Dimension lines
(4) Extension or projection lines
(5) Construction lines
(6) Hatching or section lines
(7) Leader or pointer lines
(8) Border lines
(9) Short-break lines
(10) Long-break lines
(11) Hidden or dotted lines
(12) Centre lines
(13) Cutting-plane lines
(14) Chain thick
(15) Chain thin double-dots
3-3. Lettering
(1) Single-stroke letters
(2) Gothic letters
3-4. Dimensioning
Types of dimensions
3-5. Dimensioning terms and notations
(1) Dimension line
(2) Extension line
(3) Arrowhead
(4) Note
(5) Leader
3-6. Placing of dimensions
(1) Aligned system
(2) Unidirectional system
3-7. Unit of dimensioning
3-8. General rules for dimensioning
3-9. Practical hints on dimensioning
Exercises 3
Chapter 4 CONVERSION OF PICTORIAL VIEWS INTO
ORTHOGRAPHIC VIEWS
4-1. Introduction
4-2. Orthographic projection
4-3. Procedure for preparing a scale-drawing
4-4. Illustrative problems
Exercises 4
Solutions to Exercises 4
Chapter 5 SECTIONAL VIEWS
5-1. Introduction
5-2. Cutting-plane line
5-3. Types of sectional views
5-3-1. Full section
5-3-2. Half section
5-3-3. Partial or broken section
5-3-4. Revolved section
5-3-5. Removed section
5-3-6. Offset section
5-4. Sectioning conventions
5-5. Hatching or section lines
5-6. Conventions of section lines
5-7. Illustrative problems
Exercises 5
Solutions to exercises 5
chapter 6 ORTHOGRAPHIC READING OR INTERPRETATION
OF VIEWS [INCLUDING BLUE-PRINT READING,
MISSING LINES AND MISSING VIEWS]
6-1. Introduction
6-2. Reading of orthographic views [Blue-print reading]
6-3. Missing lines and missing views
6-4. Identification of planes
Exercises 6
Solutions to exercises 6
Chapter 7 SCREW THREADS
7-1. Introduction
7-2. Definitions
(1) Crest
(2) Root
(3) Flank
(4) Angle
(5) Depth
(6) Nominal diameter
(7) Outside or major diameter
(8) Core or minor diameter
(9) Effective diameter
(10) Pitch
(11) Lead
(12) Slope
7-3. Forms of screw threads
7-3-1. Triangular or V threads
(1) Unified thread
(2) Metric thread
(3) British Standard Whitworth thread (B.S.W.)
(4) British Standard Fine (B.S.F.) threads and British
Standard Pipe (B.S.P.) threads
(5) Sellers thread
(6) British Association (B.A.) thread
7-3-2. Square thread
(1) Acme thread
(2) Knuckle thread
(3) Buttress thread
7-4. Conventional representation of threads
7-4-1. Method I
(1) External threads
(2) Internal threads
7-4-2. Method II
(1) External V thread
(2) Internal V thread
(3) External square thread
(4) Internal square thread
7-5. Multiple-start threads
7-6. Right-hand and left-hand threads
Exercises 7
Chapter 8 SCREWED FASTENINGS
8-1. Introduction
8-2. Types of nuts
8-2-1. Hexagonal nut
8-2-2. Square nut
8-3. Types of nuts for special purpose
(1) Flanged nut
(2) Cap nut
(3) Dome nut
(4) Cylindrical or capstan nut
(5) Ring nut
(6) Wing nut
8-4. Washers
8-5. Bolts
8-6. Forms of bolts
(1) Hexagonal-headed bolt
(2) Square-headed bolt
(3) Cylindrical or cheese-headed bolt
(4) Cup-headed or round-headed bolt
(5) T-headed bolt
(6) Countersunk-headed bolt
(7) Hook bolt
(8) Headless tapered bolt
(9) Eye-bolt
(10) Lifting eye-bolt
(11) Tap-bolt or cap-screw
(12) Stud-bolt or stud
8-7. Set-screws
8-8. Locking arrangements for nuts
(1) Lock-nut or check-nut
(2) Split-pin
(3) Slotted nut
(4) Castle nut
(5) Sawn nut or Wiles nut
(6) Simmond’s lock-nut
(7) Penn, ring or grooved nut
(8) Stop-plate or locking-plate
(9) Spring-washer
8-9. Foundation bolts
(1) Eye or Hoop bolt
(2) Rag bolt
(3) Lewis bolt
(4) Cotter bolt
(5) Curved or bent bolt
(6) Square-headed bolt
8-10. Spanner
8-11. Longitudinal or bar stay
8-12. Conventional symbols for nuts and bolts
Exercises 8
Chapter 9 KEYS, COTTER-JOINTS AND PIN-JOINTS
9-1. Introduction
9-2. Keys joints
9-2-1. Taper keys
(1) Sunk taper key
(2) Saddle keys
(i) Hollow saddle key
(ii) Flat saddle key
(3) Round key or pin key
(4) Taper pin
(5) Gib-head
9-2-2. Parallel or feather keys
9-2-3. Spline shafts
9-2-4. Woodruff key
9-2-5. Cone keys
9-2-6. Staking-on
9-4. Cotter and cotter joints
9-4. Types of cotter joints
(1) Socket and spigot joint
(2) Sleeve joint
(3) Strap joint
9-5. Pin-joint or Knuckle joint
Exercises 9
Chapter 10 PIPE JOINTS
10-1. Introduction
10-2. Cast-iron pipes
10-2-1. Cast-iron flanged joint
10-2-2. Socket and spigot joint
10-2-3. Hydraulic joint
10-3. Wrought-iron and steel pipes
10-4. Copper pipes
10-5. Union joint
10-6. Lead pipes
10-7. Expansion joints
10-8. Piping drawings
Exercises 10
Chapter 11 VALVES
11-1. Introduction
11-2. Types of valves
11-2-1. Flap valve
India-rubber disc valve
11-2-2. Ball valve
11-2-3. Metal disc valve
11-2-4. Stop valves
11-2-5. Feed-check valve
11-3. Safety valves
11-3-1. Spring-loaded safety valves
11-3-2. Lever safety valve
11-3-3. Dead-weight safety valve
11-4. Blow-off cock
Exercises 11
Chapter 12 RIVETED JOINTS AND WELDED JOINTS
12-1. Introduction
12-2. Riveting
12-3. Caulking and fullering
12-4. Forms and proportions of rivet-heads
12-5. Failure of riveted joints
12-6. Dimensions of a riveted joint
12-7. Types of riveted joints
12-7-1. Lap joint
12-7-2. Butt joint
12-8. Rolled-steel sections
12-8-1. Connection of plates at right angles
12-8-2. Gusset stay
12-9. Welded joints
12-9-1. Welding
12-9-2. Types of welding process
(1) Pressure welding or forge welding
(2) Fusion welding
(3) Fusion and pressure welding
12-9-3. Types of welded and welds joints
(1) Types of welded joints
(2) Types of welds
12-9-4. Representation of welded joints
Exercises 12
Chapter 13 SHAFT BEARINGS, BRACKETS AND HANGERS
13-1. Introduction
13-2. Journal bearings
13-2-1. Solid bearing
13-2-2. Bushed bearing
13-2-3. Pedestal bearing or plummer block
13-2.4. Methods of preventing rotation of brasses in a bearing
13-3. Pivot bearing: Foot-step bearing
13-4. Wall brackets
13-5. Hangers
13-6. Wall-plates
13-7. Wall-box
Exercises 13
Chapter 14 SHAFT COUPLINGS, CLUTCHES AND BREAKS
14-1. Introduction
14-2. Fast or rigid couplings
14-2-1. Box or muff coupling
14-2-2. Half-lap coupling
14-2-3. Split-muff coupling
14-3. Flanged coupling
14-3-1. Protected type flange-coupling
14-3-2. Solid flanged coupling
14-4. Flexible couplings
14-4-1. Universal coupling or Hook’s joint
14-4-2. Oldham’s coupling
14-4-3. Gear coupling
14-5. Loose or disengaging couplings or clutches
14-5-1. Claw coupling or clutch
14-5-2. Conical friction coupling or Cone friction clutch
14-5-3. Single plate clutch
14-6. Brakes
14-6-1. Double block brake
14-6-2. Band brake
Exercises 14
Chapter 15 PULLEYS
15-1. Introduction
15-2. Types of Pulleys
15-3. Cast iron (C.I.) belt pulleys
15-4. Fast and loose (f & L) pulleys
15-5. Speed cones or stepped pulleys
15-6. Split pulleys
15-8. Rope pulleys
15-9. V-belt pulleys
Exercises 15
Chapter 16 SPUR GEARING
16-1. Introduction
16-2. Spur gear definitions
(1) Pitch circle
(2) Pitch surface
(3) Pitch point
(4) Centre distance
(5) Tooth face
(6) Tooth flank
(7) Crest of tooth
(8) Root of tooth
(9) Tooth thickness
(10) Addendum
(11) Dedendum
(12) Clearance
(13) Whole depth
(14) Working depth
(15) Addendum circle
(16) Dedendum circle
(17) Fillet radius
(18) Pinion
(19) Rack
16-3. Pitch definitions
(1) Circular pitch, C.P.
(2) Diametral pitch, D.P.
(3) Module pitch, m
(4) Chordal pitch
16-4. Relationship between the pitches
16-5. Tooth proportions
16-6. Involute spur gears
(1) Involute
(2) Base circle
(3) Line of action
(4) Pressure angle or angle of obliquity
16-7. Construction of base circles
16-8. Approximate construction of teeth profile
(1) For gears of 30 teeth and over
(2) For gears of less than 30 teeth
16-9. Gears in mesh
16-10. Rack and pinion
16-11. Cycloidal tooth profile
Exercises 16
Chapter 17 STEAM ENGINE PARTS
17-1. Introduction
17-2. Steam engine
17-3. Working of steam engine
17-4. Steam engine parts
17-5. Piston assembly
17-6. Stuffing boxes
17-7. Cross-heads
17-8. Connecting rods
(1) Large or Big end (connected to crank)
(2) Small or little end (connected to cross-head)
17-9. Cranks
(1) Overhung crank
(2) Disc crank
(3) Forged crank
17-10. Eccentrics and eccentric rod
17-11. Cylinder
17-12. Cylinder covers
17-13. d-Slide valve
17-14. Steam chest
17-15. Steam chest top cover
17-16. Valve rod
17-17. Knuckle joint
17-18. Plummer block
17-19. Governor
(1) Construction of Governor
(2) Working of Governor
17-20. Flywheel
Exercises 17
Chapter 18 INTERNAL COMBUSTION (I.C.) ENGINE PARTS
18-1. Introduction
18-2. An I. C. Engine
18-3. Working of an I. C. Engine
(1) Suction stroke
(2) Compression stroke
(3) Power or expansion stroke
(4) Exhaust stroke
18-4. I. C. Engine parts
18-5. Crank case
18-6. Crank
18-6-1. Crank web
18-6-2. Crank pin
18-6-3. Crank shaft
(1) Forged crankshaft
(2) Built-up crank
18-7. Driving gear
18-9. Gear nut
18-9. Connecting rod
18-10. Piston
18-11. Piston rings
18-12. Gudgeon pin
18-13. Circlip
18-14. Cylinder
18-15. Spark plug
18-16. Cylinder head
18-17. Cam shaft
18-18. Head cover
18-19. Cam sprocket
18-20. Timing chain
18-21. Rocker arm
18-22. Valves
18-23. Springs
18-24. Crank flywheel
18-25. Crank nut
18-26. Crank sprocket
18-27. Gaskets
18-28. Carburettor
Exercises 18
Chapter 19 ELEMENTS OF PRODUCTION DRAWING
19-1. Introduction
19-2. Geometrical tolerances
19-3. Types of geometrical tolerances
(1) Form tolerances
(2) Position tolerances
19-4. Terminology for geometrical deviations
(1) Tolerance of straightness
(2) Tolerance of flatness
(3) Barrel form, bow form and curvature of axes
(4) Taper
(5) Oval form and lobed form
(6) Radial run out and axial run out
(7) Misalignment
(8) Non-perpendicular surfaces
(9) Incorrect location of intersecting axes
(10) Datum
19-5. Representation of geometrical tolerance on a drawing
19-6. Dimensional tolerances
19-7. Terminology for dimensional tolerances
(1) Basic dimension or basic size
(2) Upper deviation
(3) Lower deviation
(4) Tolerance zone
(5) Actual size
(6) Zero line
(7) Unilateral limits
(8) Bilateral limits
(9) (i) Maximum material condition (MMC)
(ii) Minimum or least material condition (LMC)
(10) Allowance
(11) Mating surfaces and mating dimensions
(12) Basic shaft
(13) Basic hole
19-8. Selection of tolerances
19-9. Representation of dimensional tolerances
(1) Letter symbol
(2) Number or grade method
19-10. Representation of dimensional tolerances on drawings
19-11. Fits
(1) Clearance fit
(2) Interference fit
(3) Transition fit
(4) Sliding fit
19-12. Hole basis and shaft basis system
(1) Hole basis system
(2) Shaft basis system
19-13. Representation of holes, shafts and fits
19-14. Surface-roughness
19-15. Terminology for surface roughness
(1) Ideal surface
(2) Roughness
(i) Roughness height
(ii) Mean roughness index
(iii) Surface roughness number
(3) Waviness
(4) Lay
19-16. Representation of surface-roughness on drawings
19-17. Conventional representation of machine parts
Exercises 19
Chapter 20 ASSEMBLY DRAWINGS
20-1. Introduction
20-2. Types of assembly drawings
(1) Designed assembly
(2) Layout assembly
(3) Installation assembly
(4) Working drawing assembly
(5) General assembly
20-3. Accepted norms to be observed for assembly drawings
(1) Selection of views
(2) Sectioning
(3) Dotted lines
(4) Dimensions
(5) Bill of materials
20-4. Sequences of preparing the assembly drawing
20-5. Illustrative problems
Exercises 20
Chapter 21 COMPUTER AIDED DRAFTING (CADR)
21-1. Introduction
21-2. Computer
21-2-1. Organisation of a computer
21-3. Computer hardware for cad
21-3-1. Processor (CPU)
21-3-2. Visual display unit or monitor
21-3-3. Main memory ‘ram’ (fig. 21-2)
21-3-4. Input devices (fig. 21-2)
(1) Keyboard
(2) Mouse
(3) Tablet or Digitizer
21-3-5. Graphic output devices
(1) Dot Matrix Printers (DMP)
(2) Pen Plotters (fig. 21-2)
(3) Ink-Jet printers/plotters
(4) Laser printers
21-4. CAD software
Features of CAD softwares
(1) Modelling and Drafting
(2) Ease of use
(3) Flexibility
(4) Modularity
(5) Low maintenance cost
21-5. Computer aided drafting
21-6. AutoCAD
21-6-1. Hardware required for AutoCAD 2015/2016
21-6-2. Classic and ribbon screen layout of AutoCAD 2015/2016
21-6-3. Function keys
21-6-4. Drawing entities (draw commands)
(1) Setting limits of drawing area
(2) DRAW commands
(3) ZOOM command
(4) Object snap
(5) Object Selection Method
(6) Modify commands
(7) File handling commands
(ii) MText (Multiple text)
(9) Symbol library (block, wblock and insert)
21-7. Two dimensional drawings
(1) Absolute coordinate method
(2) Relative coordinate method
(3) Relative polar coordinate method
21-8. Isometric drawings
(1) To set isometric mode
(2) To set Isoplane
(3) Drawing isometric circles
(4) Isometric text
(5) Isometric dimension
21-9. 3D geometrical modelling
21-9-1. 3D Wireframe modelling
(1) VPOINT command
(2) UCS command
Methods to Locate Points in Space to generate 3D Wireframe
Model
(1) 3D Absolute Coordinate Method
(2) 3D Rectangular Coordinate Method
(3) 3D Cylindrical Coordinate Method
(4) 3D Spherical Coordinate Method
21-9-2. 3D Surface Modelling
(1) VPOINT
(2) UCS
(3) SHADEMODE command
(4) ELEV command
(5) 3DFACE command
(6) PFACE command
(7) Revolve surface command
(8) Tabulated surfaces
(9) Ruled surfaces
(10) Edge surfaces
(11) 3DMESH
(12) 3D Standard shaped surface
21-9-3. 3D Solid Modelling
21-9-4. Commands to generate profile based 3D solids
(1) VPOINT command
(2) UCS command
(3) SHADEMODE
(4) REGION command
(5) EXTRUDE command
(6) REVOLVE command
(7) BOOLEAN operations
(8) 3DARRAY command
(9) FILLET on 3D solids
(10) CHAMFER on 3D solids
(11) ROTATE3D command
(12) MIRROR3D command
(13) SLICE command
21-10. Three dimensional drawings
21-11. Perspective view in AutoCAD
Exercises 21
Index
Only logged in customers who have purchased this product may leave a review.








Reviews
There are no reviews yet.