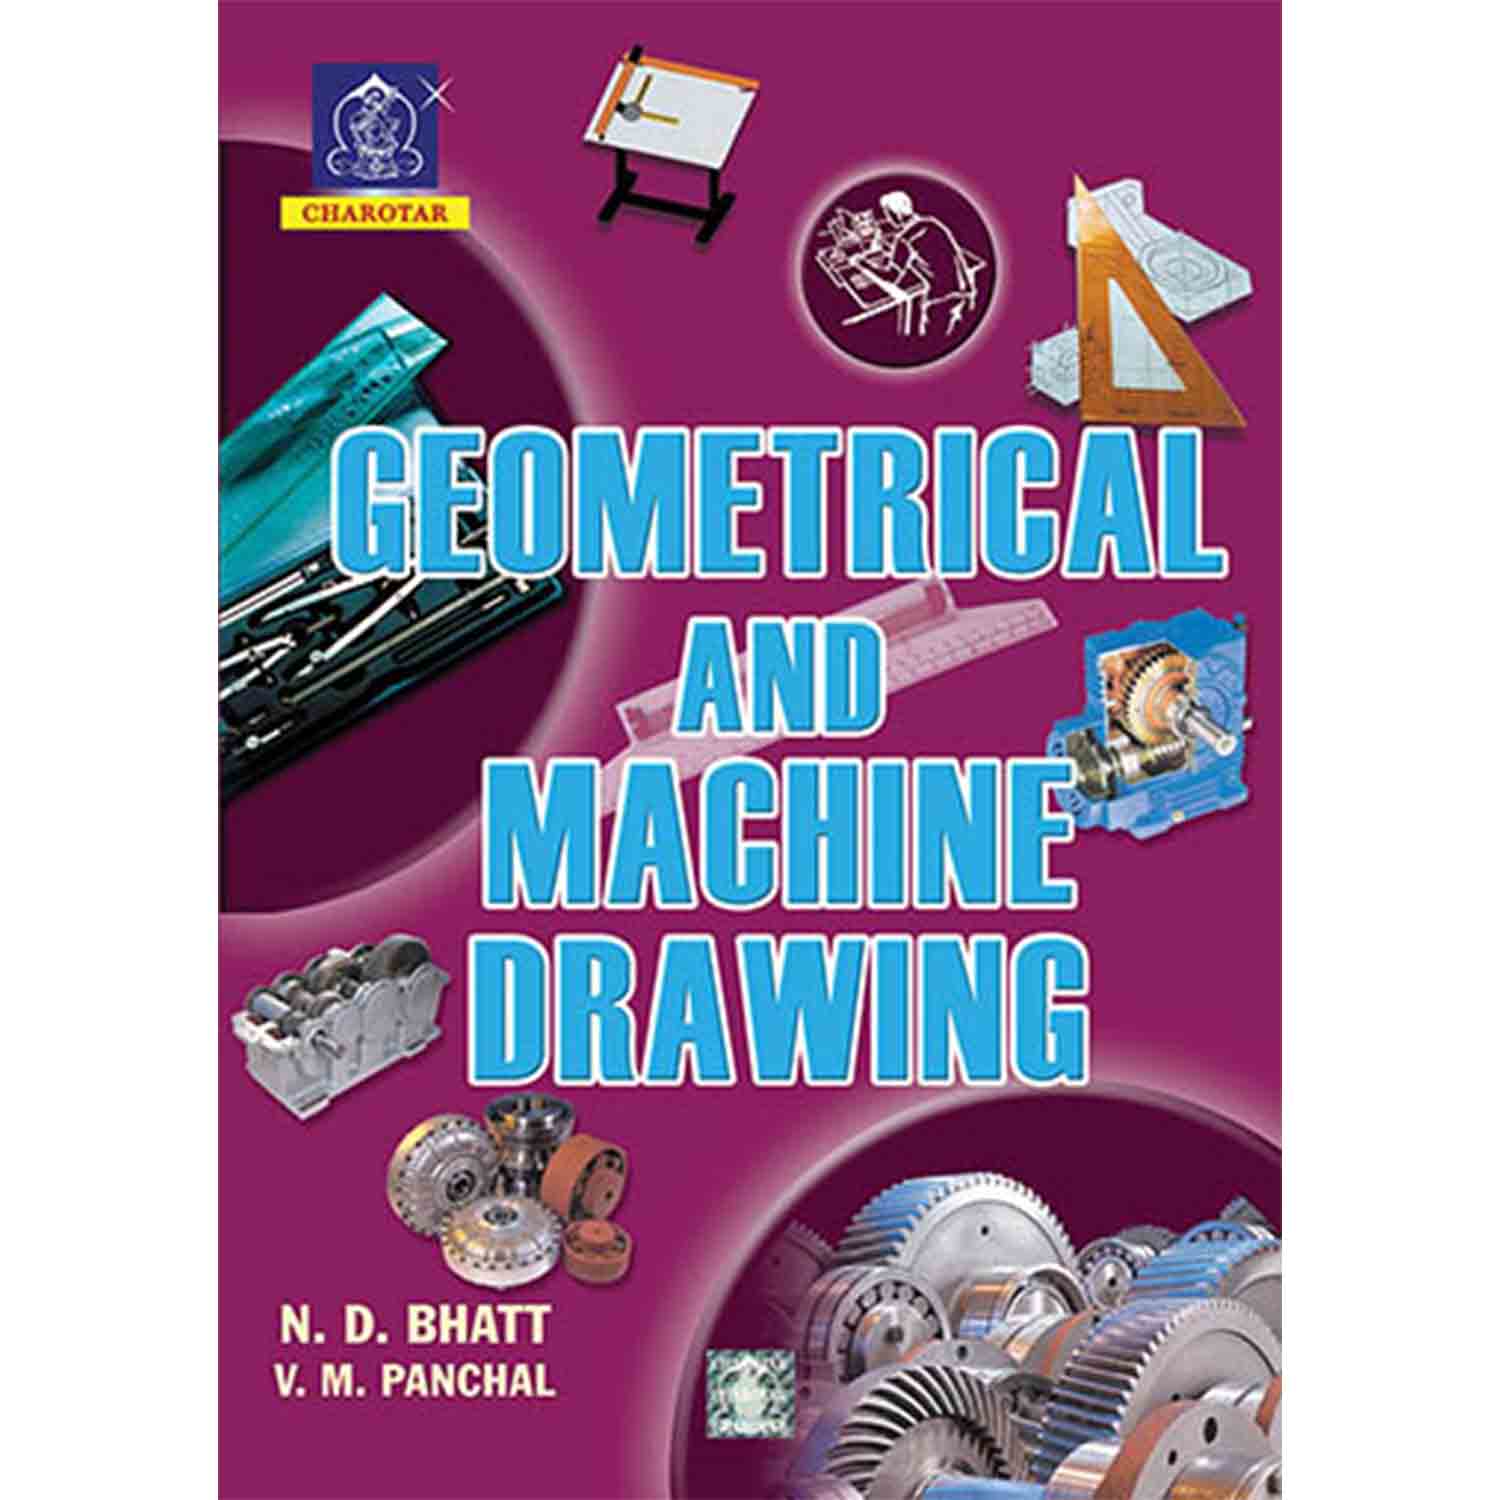
Geometrical and Machine Drawing By N. D. Bhatt
₹202.50
By N. D. Bhatt
20th Edition 2014
ISBN : 9789380358895
Binding : Paperback
Pages : 408 + 16 = 424
Size (mm) : 240 × 17 × 170
Weight : 520 g
Out of stock
CompareDescription
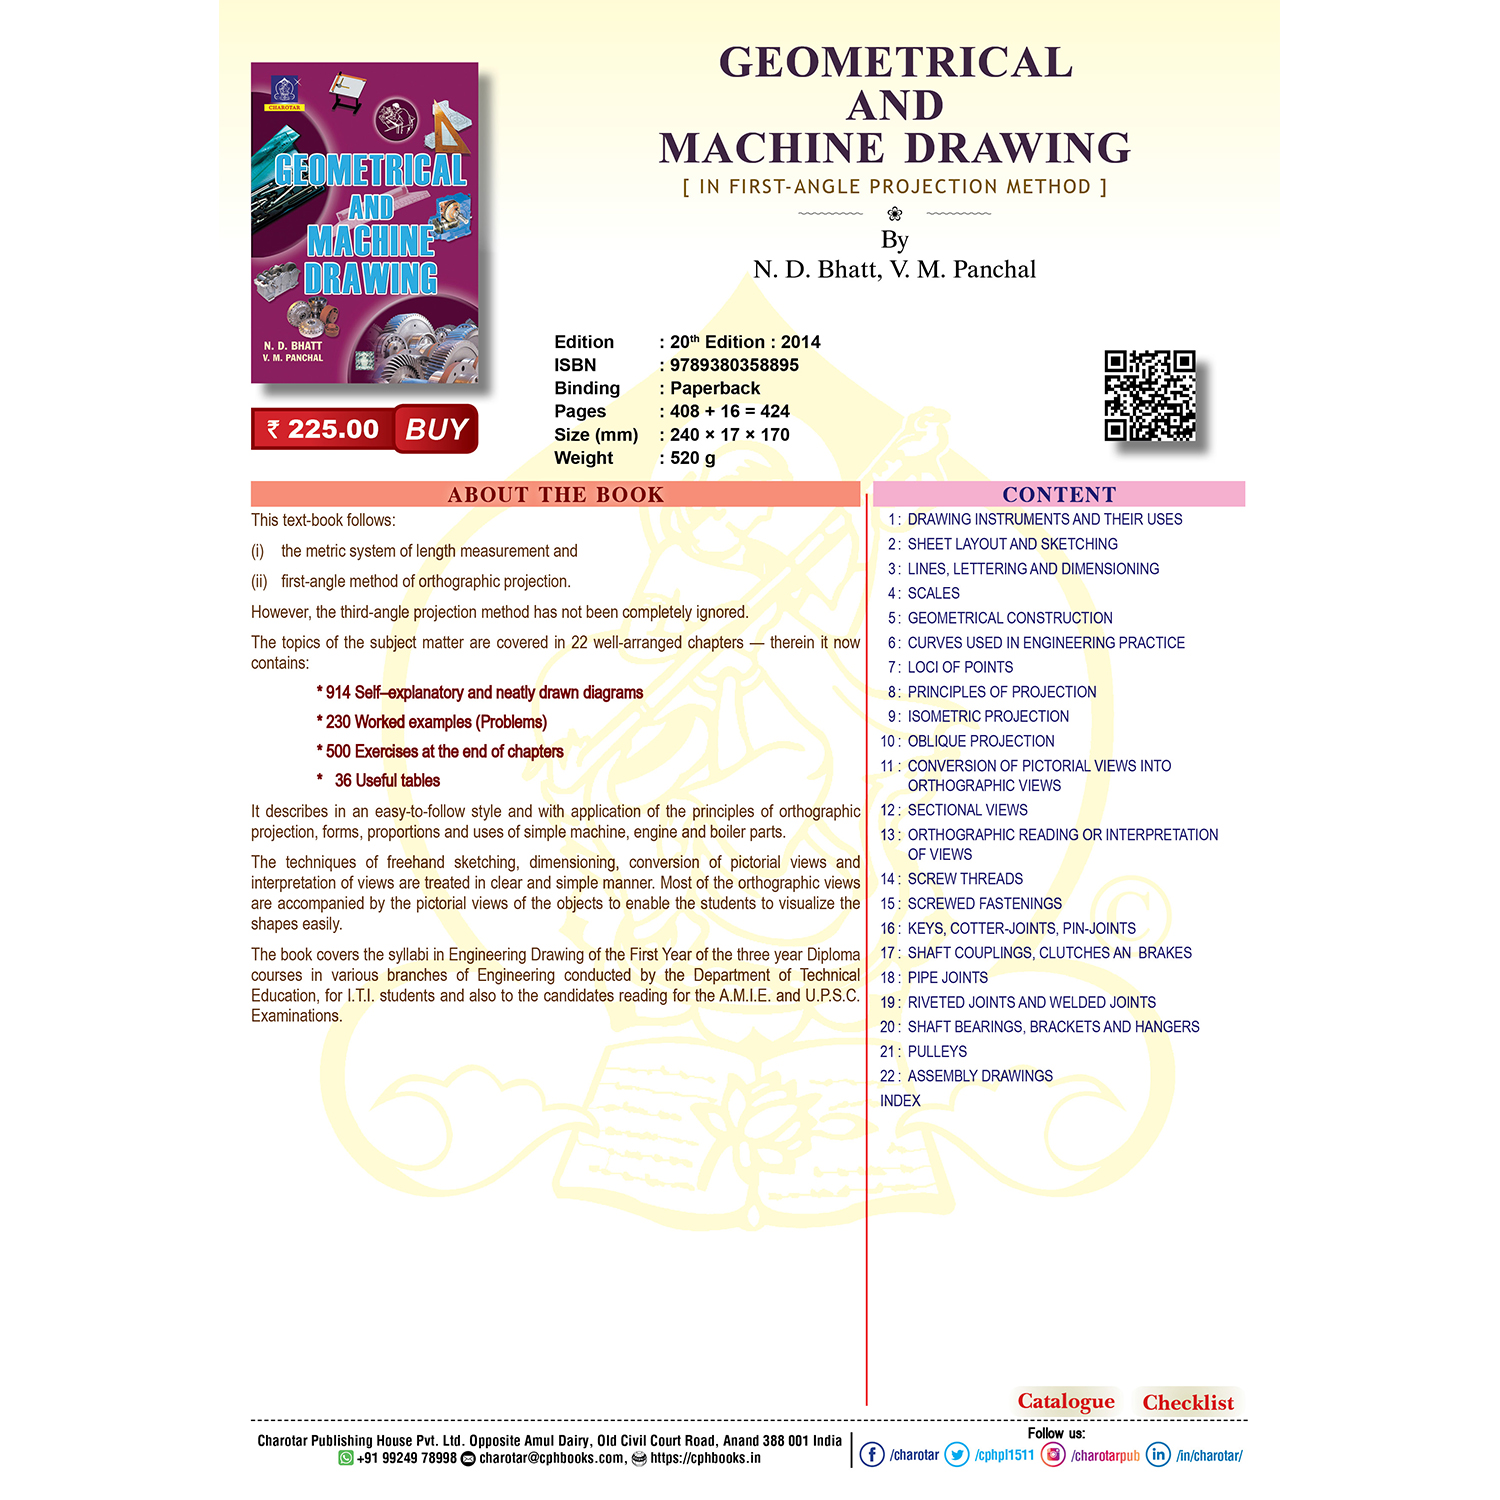
This text-book follows:
(i) the metric system of length measurement and
(ii) first-angle method of orthographic projection.
However, the third-angle projection method has not been completely ignored.
The topics of the subject matter are covered in 22 well-arranged chapters — therein it now contains:
* 914 Self–explanatory and neatly drawn diagrams
* 230 Worked examples (Problems)
* 500 Exercises at the end of chapters
* 36 Useful tables
It describes in an easy-to-follow style and with application of the principles of orthographic projection, forms, proportions and uses of simple machine, engine and boiler parts.
The techniques of freehand sketching, dimensioning, conversion of pictorial views and interpretation of views are treated in clear and simple manner. Most of the orthographic views are accompanied by the pictorial views of the objects to enable the students to visualize the shapes easily.
The book covers the syllabi in Engineering Drawing of the First Year of the three year Diploma courses in various branches of Engineering conducted by the Department of Technical Education, for I.T.I. students and also to the candidates reading for the A.M.I.E. and U.P.S.C. Examinations.
Additional information
| Author Name | |
|---|---|
| Book Edition | |
| ISBN | |
| Book Binding | |
| Pages | |
| Size | |
| Weight | |
| Old ISBN | 8185594074, 8185594112, 8185594295, 8185594325, 8185594333, 8185594457, 8185594732, 9788185594941, 9789380358390 |
Content
1 : DRAWING INSTRUMENTS AND THEIR USES
2 : SHEET LAYOUT AND SKETCHING
3 : LINES, LETTERING AND DIMENSIONING
4 : SCALES
5 : GEOMETRICAL CONSTRUCTION
6 : CURVES USED IN ENGINEERING PRACTICE
7 : LOCI OF POINTS
8 : PRINCIPLES OF PROJECTION
9 : ISOMETRIC PROJECTION
10 : OBLIQUE PROJECTION
11 : CONVERSION OF PICTORIAL VIEWS INTO
ORTHOGRAPHIC VIEWS
12 : SECTIONAL VIEWS
13 : ORTHOGRAPHIC READING OR INTERPRETATION
OF VIEWS
14 : SCREW THREADS
15 : SCREWED FASTENINGS
16 : KEYS, COTTER-JOINTS, PIN-JOINTS
17 : SHAFT COUPLINGS, CLUTCHES AN BRAKES
18 : PIPE JOINTS
19 : RIVETED JOINTS AND WELDED JOINTS
20 : SHAFT BEARINGS, BRACKETS AND HANGERS
21 : PULLEYS
22 : ASSEMBLY DRAWINGS
INDEX
Detailed Content
Chapter 1 DRAWING INSTRUMENTS AND THEIR USES
1-0. Introduction
1-1. Drawing board
1-2. T-square
1-3. Set-squares
1-4. Drawing instrument box
(i) Large-size compass with interchangeable pencil and pen legs
(ii) Lengthening bar
(iii) Small bow compass
(iv) Large-size divider
(v) Small bow divider
(vi) Small bow ink-pen
(vii) Inking pen
1-5. Scales
1-6. Protractor
1-7. French curves
1-8. Drawing papers
1-9. Drawing pencils
1-10. Eraser (Rubber)
1-11. Drawing pins
1-12. Sand-paper block
1-13. Duster
1-14. Drafting machine
1-15. General suggestions for drawing a sheet
(i) Cleaning the instruments
(ii) Pinning the paper to the drawing board
(iii) Border lines, To draw the border lines
(iv) Spacing of drawings
Exercises I
Chapter 2 SHEET LAYOUT AND SKETCHING
2-1. Sheet layout
Sheet sizes
Margin
Border lines
Borders and frames
Orientation mark
Grid reference system
Title block
List of parts or the bill of materials
Revisions of drawing
Folding marks
Scales and scale drawing
2-2. Types of machine drawings
(i) Production drawing
(ii) Exploded assembly drawing
(iii) Schematic assembly drawing
(iv) Drawing for instruction manual
(v) Drawing for installation
(vi) Drawing for catalogue
(vii) Tabular drawing
(viii) Patent drawing
2-3. Sketching
Sketching materials
To sketch straight lines
To sketch circles and arcs
Sketching procedure
Exercises II
Chapter 3 LINES, LETTERING AND DIMENSIONING
3-0. Introduction
3-1. Lines
Line thickness
Inked drawings
Pencil drawings
Types of Lines
Outlines
Margin lines
Dimension lines
Extension or projection lines
Construction lines
Hatching or section lines
Leader or pointer lines
Border lines
Short-break lines
Long-break lines
Hidden or dotted lines
Centre lines
Cutting-plane lines
Chain thick
Chain thick double-dashed
3-2. Lettering
I. Single-stroke letters
II. Gothic letters
3-3. Dimensioning
Types of dimensions
3-4. Dimensioning terms and notations
Dimension line
Extension line
Arrowhead
Leader
3-5. Placing of dimensions
(i) Aligned system
(ii) Unidirectional system
3-6. Unit of dimensioning
3-7. General rules for dimensioning
3-8. Practical hints on dimensioning
(a) Continuous or chain dimensioning
(b) Progressive or parallel dimensioning
Exercises III
Chapter 4 SCALES
4-0. Introduction
4-1. Scales
(i) Engineer’s scale
(ii) Graphical scale
(iii) Representative fraction
4-2. Scales on drawings
4-3. Types of scales
(i) Plain scales
(ii) Diagonal scales
Principle of diagonal scale
(iii) Comparative scales
(i) Inch scale
(ii) Comparative scale
(i) Scale of miles
(ii) Scale of kilometres
(iv) Vernier scales
Principle of vernier
Least count of a vernier
(i) Forward vernier
(ii) Backward vernier
(v) Scale of chords
Exercises IV
Chapter 5 GEOMETRICAL CONSTRUCTION
5-0. Introduction
5-1. Bisecting a line
5-2. To draw perpendiculars
5-3. To draw parallel lines
5-4. To divide a line
5-5. To bisect an angle
5-6. To trisect an angle
5-7. To find the centre of an arc
5-8. To construct equilateral triangles
(a) With T-square and set-square only
(b) With the aid of a compass
5-10. To construct regular polygons
(a) Inscribe circle method
(b) Arc method
Alternative method
5-11. Special methods of drawing regular polygons
5-12. Regular polygons inscribed in circles
5-13. To draw regular figures using T-square and set-squares
5-14. To draw tangents
(a) External tangents
(b) Internal tangents
5-15. Lengths of arcs
5-16. Circles and lines in contact
5-17. Inscribed circles
Exercises V
Chapter 6 CURVES USED IN ENGINEERING PRACTICE
6-0. Introduction
6-1. Conic sections
6-1-1. Ellipse
(a) General method of construction of an ellipse
(b) Construction of ellipse by other methods
Normal and tangent to an ellipse
6-1-2. Parabola
(a) General method of construction of a parabola
(b) Construction of parabola by other methods
6-1-3. Hyperbola
Rectangular hyperbola
General method of construction of a hyperbola
6-1-4. Tangents and normals to conics
(a) General method
(b) Other methods of drawing tangents to conics
6-2. Cycloidal curves
6-2-1. Cycloid
Normal and tangent to a cycloid curve
6-2-2. Trochoid
6-2-3. Epicycloid and hypocycloid
Normal and tangent to an epicycloid and a hypocycloid
6-2-4. Epitrochoid
6-2-5. Hypotrochoid
6-3. Involute
Normal and tangent to an involute
6-4. Evolutes
6-5. Spirals
6-5-1. Archemedian spiral
Normal and tangent to an Archemedian spiral
6-5-2. Logarithmic or equiangular spiral
6-6. Helix
6-6-1. A method of drawing a helical curve
6-6-2. Helical springs
(a) Helical spring of a wire of square cross-section
(b) Helical spring of a wire of circular cross-section
6-6-3. Screw threads
6-6-4. Helix upon a cone
6-7 Cam
Exercises VI
Miscellaneous problems
Chapter 7 LOCI OF POINTS
7-0. Introduction
7-1. Loci of points
7-2. Simple mechanisms
7-2-1. The slider-crank mechanism
7-2-2. A four-bar mechanism
Exercises VII
Chapter 8 PRINCIPLES OF PROJECTION
8-0 Engineering drawing
8-1. Principle of projection
8-2. Methods of projection
8-3. Orthographic projection
8-3-1. First-angle projection
8-3-2. Third-angle projection
B.I.S. code of practice
Symbols for methods of projection
Combination of two methods
8-4. Isometric projection
8-5. Oblique projection
8-6. Perspective projection
Exercises VIII
Chapter 9 ISOMETRIC PROJECTION
9-0. Introduction
9-1. Isometric axes, lines and planes
9-2. Isometric scale
9-3. Isometric drawing or isometric view
9-4. Isometric graph
9-5. Illustrative problems
9-5-1. Isometric drawing of planes or plane figures
I. Method of points
II. Four-centre method
9-5-2. Isometric drawing of prisms and pyramids
Methods of drawing non-isometric lines
(i) Box method
(ii) Offset method
9-5-3. Isometric drawing of cylinders
9-5-4. Isometric drawing of cones
9-5-5. Isometric drawing of sphere
9-6. Typical problems
Exercises IX
Chapter 10 OBLIQUE PROJECTION
10-0. Introduction
10-1. Principle of the oblique projection
10-2. The oblique projection and the isometric projection
10-3. Receding lines and receding angles
10-4. Types of the oblique projection
(i) Cavalier projection
(ii) Cabinet projection
10-5. Rules for the choice of position of an object
10-6. Steps for drawing the oblique projection
Exercises X
Chapter 11 CONVERSION OF PICTORIAL VIEWS INTO
ORTHOGRAPHIC VIEWS
11-0. Introduction
(i) First-angle projection method
(ii) Third-angle projection method
11-1. Orthographic projection
11-2. Procedure for preparing a scale-drawing
11-3. Illustrative problems
Exercises XI
Solutions to Exercises XI
Chapter 12 SECTIONAL VIEWS
12-0. Introduction
12-1. Cutting-plane line
12-2. Types of sectional views
12-2-1. Full section
12-2-2. Half section
12-2-3. Partial or broken section
12-2-5. Removed section
12-2-6. Offset section
12-3. Sectioning conventions
12-4. Hatching or section lines
12-5. Conventions of section lines
Illustrative problems
Exercises XII
Solutions to exercises XII
Chapter 13 ORTHOGRAPHIC READING OR INTERPRETATION
OF VIEWS
13-0. Introduction
13-1. Reading of orthographic views (Blue-print reading)
13-2. Missing lines and missing views
13-3. Identification of planes
Exercises XIII
Solutions to exercises XIII
Chapter 14 SCREW THREADS
14-0. Introduction
14-1. Definitions
Crest
Root
Flank
Angle
Depth
Nominal diameter
Outside or major diameter
Core or minor diameter
Effective diameter
Pitch
Lead
Slope
14-2. Forms of screw threads
14-2-1. Triangular or V threads
(a) Unified thread
(b) Metric thread
(c) Whitworth thread
(d) British Standard Fine and British Standard Pipe threads
(e) Sellers thread
(f) British Association thread
14-2-2. Square thread
(a) Acme thread IS: 7008-1988
(b) Knuckle thread
(c) Buttress thread
14-3. Conventional representation of threads SP: 46-1988
(a) External threads
(b) Internal threads
(a) External V thread
(b) Internal V thread
(c) External square thread
(d) Internal square thread
14-4. Multiple-start threads
14-5. Right-hand and left-hand threads
Exercises XIV
Chapter 15 SCREWED FASTENINGS
15-0. Introduction
15-1. Types of nuts
15-1-1. Hexagonal nut
15-1-2. Square nut
15-2. Types of nuts for special purpose
Flanged nut
Cap nut
Dome nut
Cylindrical or capstan nut
Ring nut
Wing nut
15-3. Washers
15-4. Types of bolts
15-5. Forms of bolts
Hexagonal-headed bolt
15-6. Methods of preventing rotation of a bolt while screwing a
nut on or off it
Square-headed bolt
Cylindrical or cheese-headed bolt
Cup-headed or round-headed bolt
T-headed bolt
Countersunk-headed bolt
Hook bolt
Headless tapered bolt
Eye-bolt
Lifting eye-bolt
Tap-bolt or cap-screw
Stud-bolt or stud
15-7. Set-screws
15-8. Locking arrangements for nuts
(i) Lock-nut or check-nut
(ii) Split-pin
(iii) Slotted nut
(iv) Castle nut
(v) Sawn nut or Wiles nut
(vi) Simmond’s lock-nut
(vii) Penn, ring or grooved nut
(viii) Stop-plate or locking-plate
(ix) Spring-washer
15-9. Foundation bolts
(i) Eye foundation bolt
(ii) Rag bolt
(iii) Lewis bolt
(iv) Cotter bolt
15-10. Spanner
15-11. Longitudinal or bar stay
Exercises XV
Chapter 16 KEYS, COTTER-JOINTS, PIN-JOINTS
16-0. Introduction
16-1. Keys joints
(i) Taper keys
Sunk taper key
Saddle keys
Round key or pin key
Taper pin
Gib-head
(ii) Parallel or feather keys
Spline shafts
Woodruff key
Cone keys
Staking-on
16-2. Cotter and cotter joints
(i) Socket and spigot joint
(ii) Sleeve joint
(iii) Strap joint
16-3. Pin-joint or Knuckle joint
Exercises XVI
Chapter 17 SHAFT COUPLINGS, CLUTCHES AND BRAKES
17-0. Introduction
17-1. Fast or rigid couplings
17-1-1. Box or muff coupling
17-1-2. Half-lap coupling
17-1-3. Split-muff coupling
17-2. Flanged coupling
17-2-1. Protected type flange-coupling
17-2-2. Solid flanged coupling
17-3. Flexible couplings
17-3-1. Universal coupling or Hook’s joint
17-3-2. Oldham’s coupling
17-3-3. Gear coupling
17-4. Loose or disengaging couplings or clutches
17-4-1. Claw coupling or clutch
17-4-2. Conical friction coupling or cone friction clutch
17-4-3. Single plate clutch
17-5. Brakes
Exercises XVII
Chapter 18 PIPE JOINTS
18-0. Introduction
18-1. Cast-iron pipes
18-1-1. Cast-iron flanged joint
18-1-2. Socket and spigot joint
18-1-3. Hydraulic joint
18-2. Wrought-iron and steel pipes
18-3. Copper pipes
18-3-1. Union joint
18-4. Lead pipes
18-5. Expansion joints
18-6. Piping drawings
Exercises XVIII
Chapter 19 RIVETED JOINTS AND WELDED JOINTS
19-0. Introduction
19-1. Riveting
19-1-1. Caulking and fullering
19-2. Forms and proportions of rivet-heads
19-3. Failure of riveted joints
19-4. Dimensions of a riveted joint
19-5. Types of riveted joints
19-5-1. Lap joint
19-5-2. Butt joint
19-6. Rolled-steel sections
19-6-1. Connection of plates at right angles
19-6-2. Gusset stay
19-7. Welded joints
19-7-1. Welding
19-7-2. Types of welding process
(i) Pressure welding or forge welding
(ii) Fusion welding
(iii) Fusion and pressure welding
Types of welded joints
Types of welds
19-7-3. Representation of welded joints
Exercises XIX
Chapter 20 SHAFT BEARINGS, BRACKETS AND HANGERS
20-0. Introduction
(i) A journal bearing
(ii) A pivot bearing
(iii) A collar or thrust bearing
20-1. Journal bearings
20-1-1. Solid bearing
20-1-2. Bushed bearing
20-1-3. Pedestal bearing or plummer block
20-1-4. Methods of preventing rotation of brasses in a bearing
20-2. Pivot bearing
20-2-1. Foot-step bearing
20-3. Wall brackets
20-4. Hangers
20-5. Wall-plates
20-6. Wall-box
Exercises XX
Chapter 21 PULLEYS
21-0. Introduction
21-1. Types of Pulleys
21-2. C. I. belt pulleys
21-3. Fast and loose pulleys
21-4. Speed cones or stepped pulleys
21-5. Split pulleys
21-6. Built-up pulleys
21-7. Rope pulleys
21-8. V-belt pulleys
Exercises XXI
Chapter 22 ASSEMBLY DRAWINGS
22-0. Introduction
22-1. Types of assembly drawings
(i) Designed assembly
(ii) Layout assembly
(iii) Installation assembly
(iv) Working drawing assembly
(v) General assembly
22-2. Accepted norms to be observed for assembly drawings
(i) Selection of views
(ii) Sectioning
(iii) Dotted lines
(iv) Dimensions
(v) Bill of materials
22-3. Sequences of preparing the assembly drawing
Illustrative problems
Exercises XXII
Index
Only logged in customers who have purchased this product may leave a review.






Reviews
There are no reviews yet.